New Jersey stands as the logistical beating heart of the North American supply chain. Situated…
Planning a major cleanout in your home, estate, or commercial space can quickly feel overwhelming without a clear disposal strategy. Whether you are decluttering a basement, clearing out a garage after decades of storage, or tackling a full estate cleanout, managing the resulting waste is often the biggest hurdle. Renting a container provides a streamlined, central location to toss unwanted materials, keeping your driveway clear and your project on schedule. This comprehensive Monmouth County dumpster rental guide covers everything you need to know to execute a hassle-free, efficient cleanout project.
1. Assess Your Cleanout Scope and Estimate Waste Volume
Before ordering a container, inspect every room, attic, shed, and storage area included in your project. Cleanout debris builds up quickly, and underestimating the volume of items to discard is one of the most common mistakes property owners make.
Categorize Your Items
To determine how much space you need, sort your waste into primary streams:
- General Household Junk: Old furniture, mattresses, broken toys, boxed knick-knacks, and carpet.
- Heavy Construction & Demolition Materials: Drywall, cabinetry, tile, flooring, and lumber.
- Yard and Outdoor Waste: Brush, branches, organic yard debris, and fencing materials.
- Restricted Materials: Paints, oils, electronics, hazardous chemicals, and batteries (which require separate handling).
Estimate Container Sizing
Selecting the right size prevents paying for unused space or needing a second container:
- 10-Yard Roll-Off: Best for small garage clear-outs, minor bathroom remodels, or medium yard cleanups.
- 15-Yard Roll-Off: Great for single-room cleanouts, carpet removal for several rooms, or small deck removals.
- 20-Yard Roll-Off: The standard size for full-attic, basement, or garage cleanouts, as well as moderate home renovation projects.
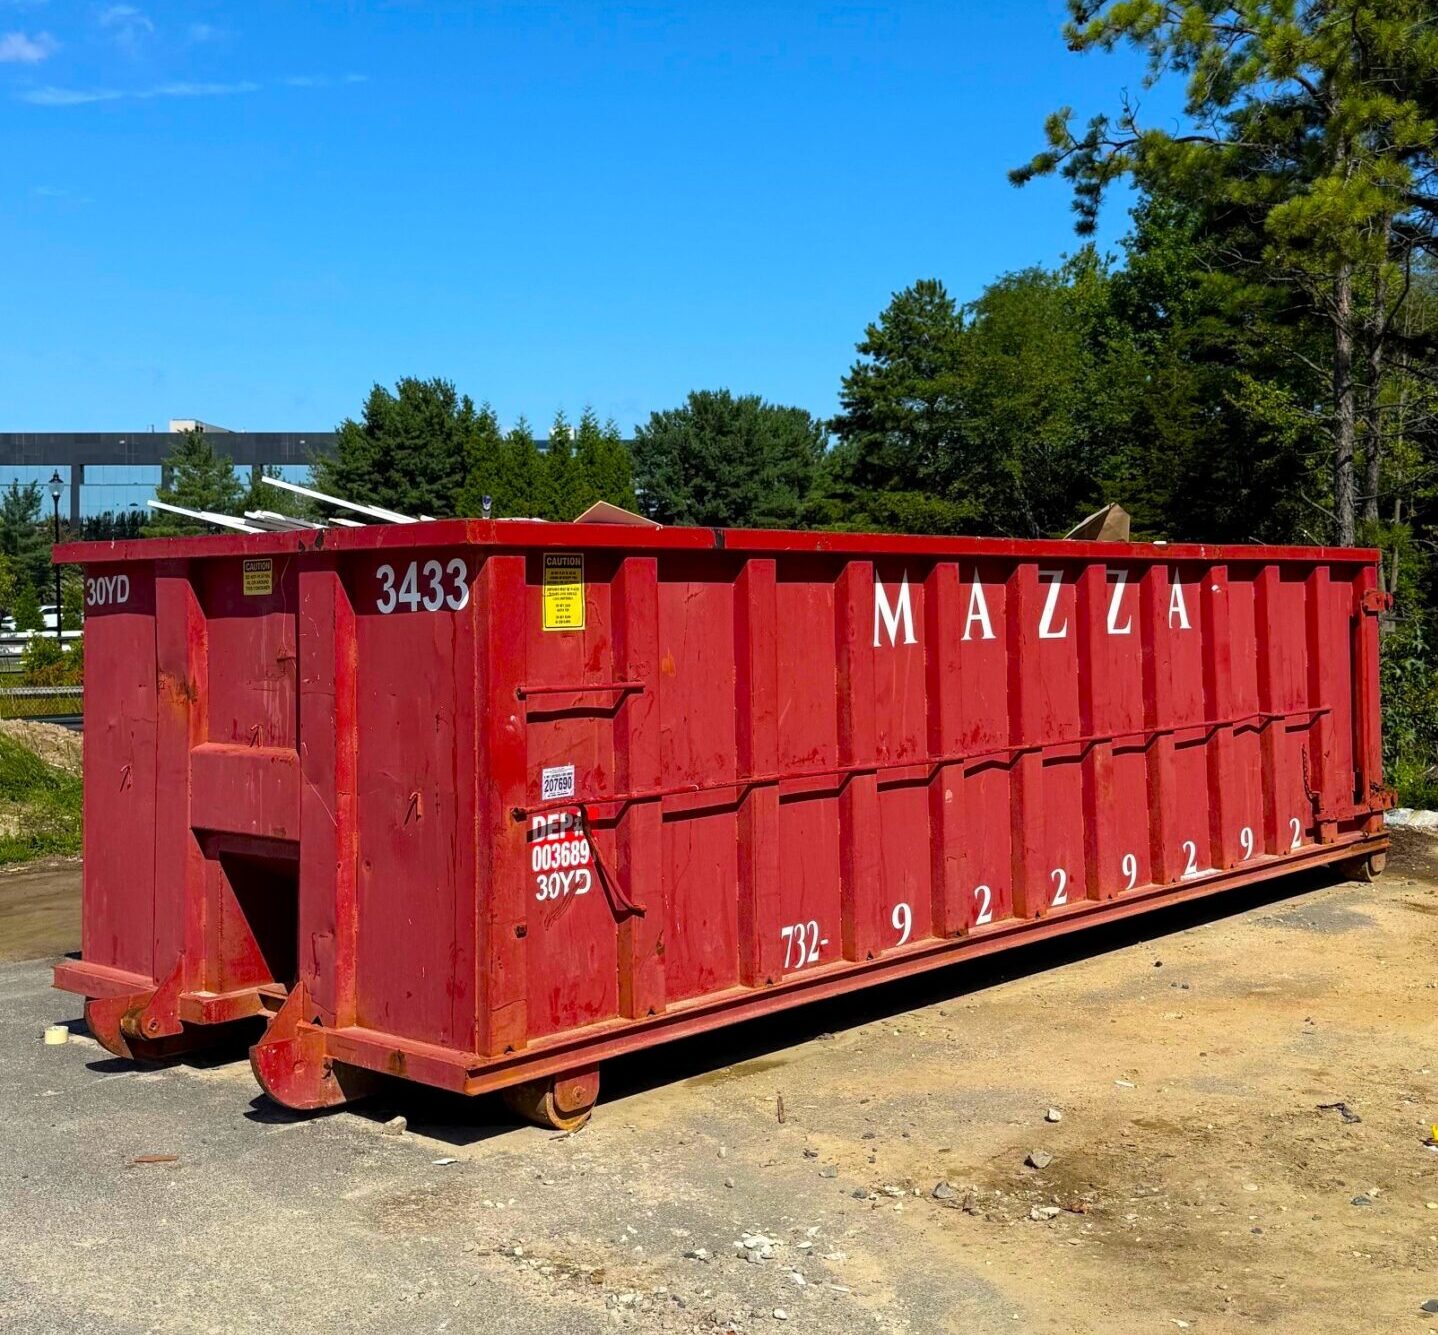
- 30-Yard Roll-Off: Ideal for major estate clear-outs, whole-home furniture removal, or large roof replacements.
- 40-Yard Roll-Off: Reserved for commercial clear-outs, major demolition, or full-scale construction jobs.
2. Understand Local Permits and Site Placement Regulations
Placement is a vital component of any local project. Where you put your container impacts access, safety, and compliance with municipal regulations across local townships.
Driveway Placement vs. Street Placement
Placing the container on a private, level concrete or asphalt driveway is always the easiest solution. Private property placement usually does not require special municipal permits. However, if your driveway is too short, steep, or inaccessible, you may need to place the container on the street or shoulder.
Check Local Municipal Codes
In many towns throughout the area, placing a roll-off container on a public street or right-of-way requires a permit from the local municipal clerk or police department. Requirements often include:
- Reflective safety markers or cones placed around the unit.
- Protection for the street asphalt.
- A active permit visible on-site for the duration of the placement.
Always check with your local town hall prior to delivery to avoid fines or placement delays.
3. Prepare the Delivery Site for Safe Placement
Proper driveway prep prevents property damage and ensures the delivery truck can maneuver safely onto your land.
Measure Clearance Space
Roll-off delivery trucks require significant room to maneuver. Ensure you have:
- Overhead Clearance: At least 14 feet of vertical clearance free of low-hanging tree branches, power lines, and telephone wires.
- Approach Distance: A clear straight-line approach of at least 40 to 50 feet so the truck can back straight in.
- Width: At least 10 feet of width to allow comfortable clearance for the delivery vehicle.
Protect Your Driveway Surface
Heavy steel containers can scratch or dent asphalt and stone driveways. Laying down two heavy wooden planks (2x6s or plywood sheets) where the container’s steel wheels will rest spreads the weight evenly and shields your surface from scuffs, tire marks, or cracking.
4. Master Efficient Loading Techniques for Maximum Volume
Packing your container efficiently allows you to maximize internal space, saving you from needing an additional container pick-up.
Open the Rear Walk-In Door
Most roll-off containers feature a heavy-duty rear door that swings fully open. Instead of tossing bulky items over the high side walls, open the door and walk heavy furniture and long debris directly inside.
Follow the Layering Method
- Bottom Layer: Place heavy, flat items like mattresses, dressers, tables, and long boards across the bottom floor first.
- Middle Layer: Fill spaces with medium-sized items, broken-down cardboard boxes, chairs, and bagged junk.
- Top Layer: Finish with lighter items, loose debris, or flexible materials.
Break Down Bulky Items
Take a few minutes to disassemble large pieces. Unscrew table legs, break down wooden frame structures, and collapse cardboard boxes flat. Disassembling furniture eliminates empty “air pockets” inside the box, allowing you to fit considerably more waste into a single load.
5. Keep Materials Safe and Avoid Restricted Items
Not everything can be tossed into a standard waste container. Environmental regulations and facility safety rules strictly ban certain hazards from general disposal streams.
Commonly Prohibited Items
Avoid putting the following prohibited materials inside your unit:
- Liquid paints, lacquers, stains, and thinners
- Motor oil, gasoline, propane tanks, and auto fluids
- Car batteries, lithium-ion batteries, and industrial batteries
- Refrigerants, air conditioners, and freon appliances (unless drained and certified)
- Hazardous chemicals, asbestos, pesticides, and medical waste
- Flammables, explosives, and fireworks
Managing Hazardous Household Waste
For items that cannot go in a roll-off container, utilize local county recycling centers or dedicated hazardous waste collection days. Separating these items protects equipment operator health and prevents environmental contamination at local sorting facilities.
6. Prevent Weight Limit Overage Charges
Containers have dedicated weight allowances based on their volume and size class. Exceeding these limits leads to overweight fees at disposal scales.
Beware of Heavy Materials
Materials like dirt, rock, concrete, brick, tile, and asphalt are extremely heavy. Filling a large 30-yard or 40-yard container with heavy masonry can easily push it over legal road limits, making it unsafe or illegal for the truck to transport. For heavy debris, special low-profile inert waste containers are required.
Protect Against Rain and Water Accumulation
Water adds significant weight to your container. Items like mattresses, carpets, upholstered sofas, and exposed cardboard absorb water like sponges during rainstorms.
- Cover your open-top container with a heavy plastic tarp secured with bungee cords when it rains or overnight.
- Keep the drain holes clear so standing water doesn’t build up inside the container floor.
7. Streamline Pick-Up and Schedule Timely Haul-Away
Once your cleanout project is complete, preparing for prompt pickup ensures a seamless conclusion to your project without extra rental days.
Level-Load Guidelines
Never overload the container above the top rim. Debris must sit completely level with or below the top edge of the side walls. Overfilled containers pose serious roadway hazards during transit, as loose items can fly off on high-speed roads. Drivers are legally permitted to refuse pickup if the load exceeds the top fill line.
Clear the Access Path
On your scheduled pickup date, ensure:
- No personal cars, trailers, or equipment are parked in front of the container.
- Driveway gates are unlocked and wide open.
- Overhanging tree limbs or low wires remain clear.
- No pets or obstacles block access to the unit.
Proper site preparation guarantees that the transport driver can quickly hook up the container and haul it off without delay or trip fees.
Renting Your Container with Confidence
Executing a home cleanout, renovation cleanup, or commercial waste project does not need to be stressful. By choosing the right size container, preparing your driveway, loading strategically, and adhering to environmental disposal guidelines, you ensure your cleanout runs smoothly from delivery to removal.
When you need reliable, professional waste removal for your next residential or commercial project, booking a seamless Monmouth County dumpster rental provides the efficiency, safety, and local expertise necessary to complete your project cleanly and on time.
Cleanout Preparation Checklist
Before ordering your waste container, keep this quick reference checklist handy:
- Scope the Project: List rooms, outbuildings, or structures to be cleared.
- Estimate Volume: Choose 10, 15, 20, 30, or 40-yard options based on material types.
- Select Site Location: Pick a flat, hard surface free of low-hanging obstacles.
- Check Town Codes: Secure street permits if placing the container off private land.
- Protect Surfaces: Place wood boards down to shield your driveway asphalt or pavers.
- Sort Hazardous Materials: Keep electronics, liquids, batteries, and paint out of the main container load.
- Cover During Rain: Tarp your open container to keep absorbent materials dry and light.
Ready to book your dumpster rental? Follow the link here:
Related Posts